How to Sharpen an Axe: File, Stone, and Keeping the Convex
An axe is not sharpened like a knife, and treating it like one is how good axes get ruined. A knife wants a thin, flat, keen edge. An axe wants a thicker, rounded, convex one, because it is driven into wood at speed and a fine edge simply folds or chips on the first knot. The work starts with a file rather than a stone, it finishes by feel rather than by looking, and it should never go anywhere near a bench grinder. This guide covers the tools, the sequence, how to keep the convex shape you were given, and the one mistake that destroys an axe head permanently.
Why an Axe Edge Is Different
Three differences, and they all follow from the fact that an axe is a thrown mass rather than a guided blade.
The angle is more obtuse. A kitchen knife might sit around fifteen degrees per side. An axe wants considerably more, because a thin edge has nothing supporting it when it meets a knot at speed. Too thin and it folds or chips; too thick and it bounces rather than biting.
The bevel is convex, not flat. Look at a well-made axe edge from the side and the shape curves gently from the cheek down to the edge, rather than meeting it in a straight ramp. That curve is what gives the edge material behind it — strength where the impact happens — while still starting thin enough to cut. Grinding it flat removes that support and the edge starts chipping.
The geometry changes with the job. A felling axe cuts across the grain and wants the thinner end of the range. A splitting axe forces fibres apart and wants a blunter, more wedge-like edge that would be useless on a knife. Sharpening a splitting axe like a felling axe makes it stick.
The Tools
- A mill bastard file, eight to ten inches, with a handle. This does the heavy work of reshaping. A file with no handle is a puncture wound waiting to happen.
- An axe puck or dual-grit stone. A round puck is the traditional shape because it lets you follow a curved edge naturally.
- A fine stone or strop for finishing, if you want a keen edge.
- A vice or a solid stop to hold the axe. Sharpening an axe held in your lap is how people end up in A&E.
- A marker pen. The most useful and least known trick, explained below.
- Gloves, cut-resistant, on the hand not holding the file.
Note what is not on the list: a bench grinder, an angle grinder, a belt sander, or a rotary tool.
Never Use a Power Grinder
This is the mistake that permanently destroys an axe, and it is worth understanding rather than just obeying.
A grinder generates heat fast, and the thinnest part of the head — the edge — heats fastest of all. Take the steel past its tempering temperature and the heat treatment is undone, locally and permanently. There is no fixing it short of re-hardening the whole head.
The tell is colour. If you see the steel turning straw, bronze or blue as you work, you have already gone too far, and the damage is done before the colour appears. The axe will look perfect. The edge will never hold again, and it will chip on wood that never troubled it before.
Hand tools cannot do this, which is the entire argument for using them. Our guide to heat treatment explains what is actually happening in the steel and why it cannot be undone.
Step One: Assess
Look along the edge in good light. You are looking for nicks, rolled sections, flat shiny spots where the edge has been blunted, and any chips.
The marker trick: colour the whole bevel with a permanent marker, then take a few strokes. Wherever the ink is gone, you are removing metal; wherever it remains, you are not touching. This tells you instantly whether you are holding the correct angle, and it is the fastest way to learn the feel of an edge you cannot see well.
Secure the axe now. A vice is ideal, edge upward and accessible. Failing that, lay it flat on a bench with the head hanging over the edge against a stop.
Step Two: File the Profile
The file reshapes; the stone only polishes. If the edge is damaged or the geometry is wrong, this is where the work happens.
File toward the edge, not away from it. Work from the cheek down into the cutting edge.
Files cut on the push stroke only. Apply pressure going forward, lift on the return. Dragging a file backward under pressure dulls it quickly and achieves nothing.
Follow the existing bevel. Match the angle already there rather than inventing a new one, unless you are deliberately changing the geometry. Use the marker to check.
Work in from the corners. Start at one corner of the bit and work along the curve to the other, keeping the number of strokes roughly even so the edge stays symmetrical.
Take out nicks first. A nick is a stress riser as well as a gap, so file the surrounding edge down to meet the bottom of it rather than leaving a notch. If a nick is deep enough that removing it would visibly change the edge profile, stop and think about whether the head needs a smith rather than a file.
Do both sides evenly. Count strokes if you need to. An axe sharpened more on one side will steer sideways in the cut.
Step Three: The Stone
Once the profile is right, the puck refines it.
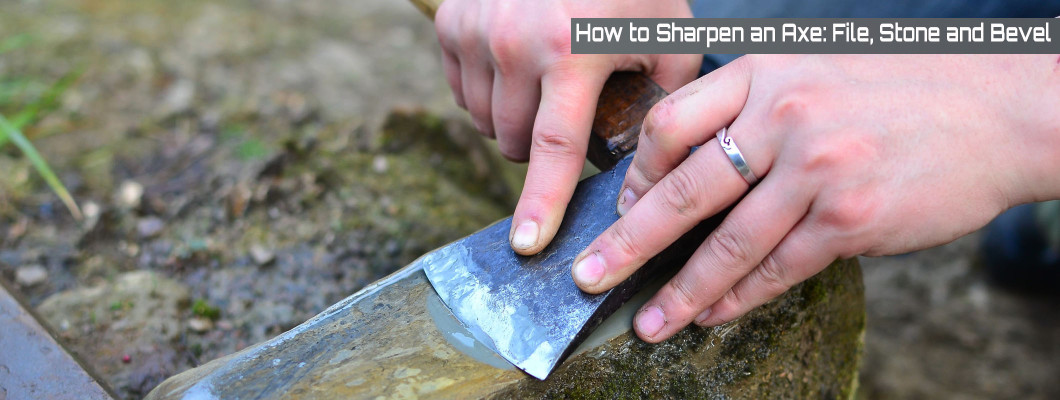
Work the coarse side first in small circles, moving along the edge, then flip to the fine side and repeat. Keep the puck flat against the bevel and rock it very slightly as you go — that gentle rocking is what maintains the convex curve instead of grinding a flat facet into it.
A little water or oil on the stone helps clear the swarf. Wipe it off periodically; a loaded stone stops cutting and starts burnishing.
Step Four: Find the Burr, Then Remove It
As you sharpen one side, metal folds over to the other, forming a thin wire edge — the burr. Feeling it is how you know you have reached the edge.
Run a thumb across the edge, never along it, on the opposite side from the one you have been working. When you feel a slight catch along the full length, that side is done. Switch and repeat.
Then remove the burr, because a burr left in place is not sharpness — it will fold over on first contact and leave you dull. A few very light alternating passes with the fine stone, or a dozen strokes on a leather strop, will take it off.
Test on wood rather than on paper. A knife-sharp axe is not the goal; an axe that bites cleanly into end grain is.
Edges for Different Jobs
| Job | Edge | Why |
|---|---|---|
| Felling and bucking | Thinner, keen, convex | Cutting across grain is a slicing action |
| Splitting | Blunter, more wedge-like | Forcing fibres apart, not cutting |
| Carving and hewing | Thin and very keen | Controlled slicing cuts, no impact shock |
| General camp use | Middle ground | Compromise across all of the above |
| Display only | Leave it alone | Nothing to gain, edge to lose |
Touching Up in the Field
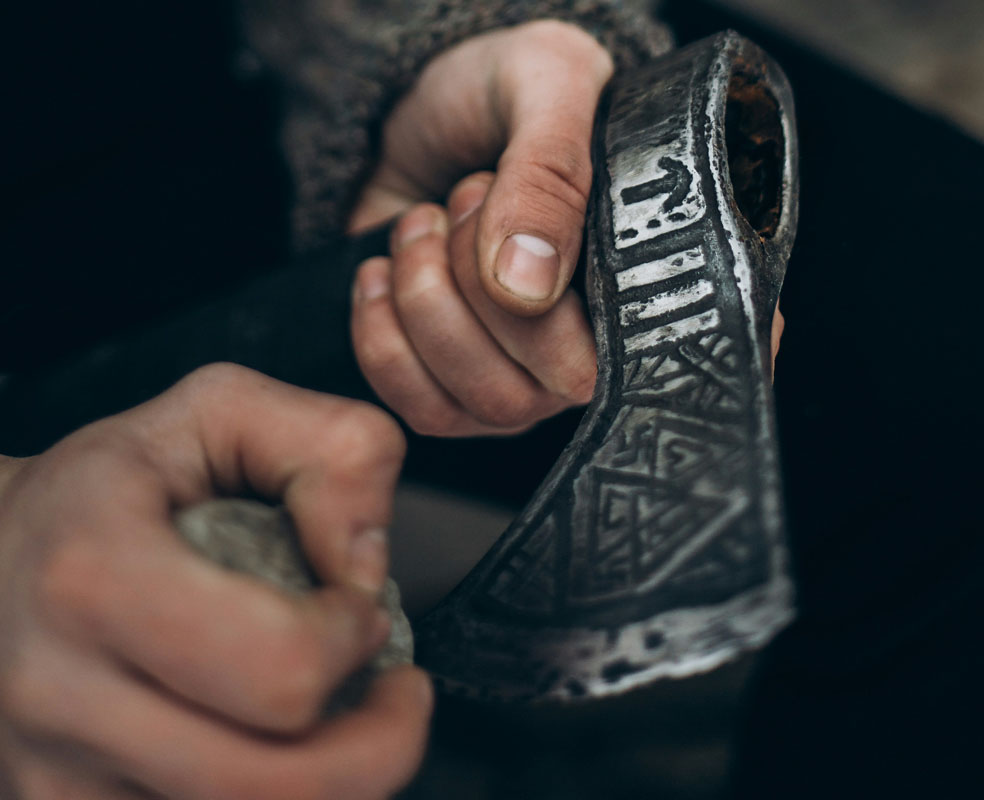
You will not carry a vice into the woods. A small puck in a pocket is enough for maintenance, and the routine is simple: lay the axe on a log with the head supported, hold the puck flat to the bevel, and work small circles along the edge with that same slight rocking motion.
A few minutes at the end of a day's work keeps an edge indefinitely. The reason axes end up needing a file is almost always that nobody touched them for a year.
After Sharpening
A freshly sharpened edge is bright bare steel, which is exactly what rust wants. Wipe the head down and put a light film of oil on it before it goes away, particularly in a damp shed. The full routine is in our guide to preventing rust on carbon steel blades.
Sheath it, and check the hang again before the next use — see our handle guide.
Or Have the Geometry Built In
Edge geometry is a forging decision as much as a sharpening one. The thickness behind the edge, the convexity of the cheeks and the bit profile are set at the anvil, and no amount of stone work will turn a splitting head into a felling head.
So if you know what the axe is for, it is worth specifying the geometry when it is made rather than trying to grind it in afterwards. Tell us whether the axe is for felling, splitting, carving or general work, along with head weight and handle length, and we will build the bit to suit.
Every axe we make ships tempered and sharpened, ready to use. Send a specification through custom forge and we confirm every dimension in writing before forging.
Edge Geometry Forged for the Job
Thin and keen for felling, blunt and wedged for splitting, fine for carving — bit geometry is set at the anvil, not on the stone. Hand-forged in Kathmandu from 5160 spring steel, tempered, sharpened and sheathed. Tell us the job and we will build the edge for it.
Request a Custom Axe →Frequently Asked Questions
How do you sharpen an axe properly?
Secure the axe, assess the edge, then use a mill bastard file to reshape the bevel, filing toward the edge and on the push stroke only. Follow with an axe puck, coarse side then fine, rocking it slightly to maintain the convex curve. Sharpen until you raise a burr along the full length, then remove that burr with light alternating passes or a strop. Test on wood rather than paper.
Why should you never sharpen an axe with a grinder?
Because a grinder generates heat fast and the edge, being the thinnest part, heats fastest of all. Taking the steel past its tempering temperature undoes the heat treatment permanently, and the damage is done before the tell-tale straw or blue colouring appears. The axe will look perfect and the edge will never hold again, chipping on wood that never troubled it before. Hand tools cannot do this, which is why they are used.
What angle should an axe be sharpened to?
More obtuse than a knife, and it depends on the job. Felling axes cut across the grain and want the thinner end of the range for a slicing action. Splitting axes force fibres apart rather than cutting, so they want a blunter, more wedge-like edge that would be useless on a knife. Carving axes want thin and keen. Sharpening a splitting axe like a felling axe will make it stick in the wood.
What is a convex edge on an axe and why does it matter?
Seen from the side, a convex bevel curves gently from the cheek down to the cutting edge rather than meeting it in a straight ramp. That curve leaves material behind the edge, supporting it where the impact happens, while still starting thin enough to cut. Grinding it flat removes that support and the edge begins to chip. Maintain it by rocking the stone slightly as you work rather than holding it rigidly flat.
Do you file toward or away from the axe edge?
Toward the edge, working from the cheek down into it. Files also cut on the push stroke only, so apply pressure going forward and lift on the return, since dragging a file backward under pressure dulls the file and achieves nothing. Work in from the corners of the bit along the curve, keeping strokes roughly even on both sides so the edge stays symmetrical and does not steer in the cut.
How do I know when an axe is sharp enough?
By feeling for the burr. As you sharpen one side, metal folds over to the other, and running a thumb across the edge — never along it — on the opposite side will find a slight catch when you have reached the edge. Once that catch runs the full length, switch sides. Then remove the burr with light alternating passes or a strop, since a burr left in place folds over on first contact. Test on end grain rather than paper.
How do I sharpen an axe in the field?
Carry a small axe puck. Lay the axe on a log with the head supported, hold the puck flat against the bevel, and work small circles along the edge with the same slight rocking motion used at the bench. A few minutes at the end of a day's work maintains an edge indefinitely. Axes end up needing a file almost entirely because nobody touched them for a year.
Can I change an axe from splitting to felling by sharpening?
Not really. Edge geometry is set at the forge — the thickness behind the edge, the convexity of the cheeks and the bit profile are forged in, and no amount of stone work turns a splitting head into a felling head. You can refine what is there, but if you need a different job done, specify the geometry when the axe is made rather than trying to grind it in afterwards.