

How to Use a Sharpening Stone to Keep Your Knife Razor Sharp
A great knife deserves a great edge. Whether you're carrying a hand-forged kukri into the wild or using a cleaver in your kitchen, sharpness is everything. At Everest Forge, we believe sharpening your blade is part of respecting it. In this guide, we’ll walk you through the traditional way of using a sharpening stone—a method trusted for generations to keep knives ready for real work.
Why Choose a Sharpening Stone?
A sharpening stone gives you full control over how your edge is shaped. Unlike electric grinders that can eat away at your blade, a stone lets you work slowly and precisely. It’s the method we recommend for all Everest Forge blades—whether it’s your survival knife, bushcraft kukri, or a forged kitchen cleaver.
What You'll Need
- A sharpening stone (water stone, oilstone, or natural sandstone)
- Water or honing oil (depending on your stone)
- A stable surface or towel to keep the stone from slipping
- Your knife—clean and dry
Step-by-Step: How to Sharpen Your Knife
1. Soak or Oil the Stone
If you're using a water stone, soak it for 10–15 minutes until you stop seeing bubbles. If it’s an oilstone, apply a bit of honing oil on the surface. This helps reduce friction and prevents metal particles from clogging the grit.
2. Keep the Stone Steady
Place the stone flat on a damp towel or rubber pad. You don’t want it sliding around—stability gives you better control and helps keep the angle consistent.
3. Set Your Sharpening Angle
For most knives, aim for a 15–20° angle between the blade and the stone. A smaller angle (like 15°) gives a razor-sharp edge but is slightly more delicate. A larger angle (closer to 20°) gives more durability, especially for outdoor or survival blades like kukris.
If you're unsure what that looks like, a helpful trick is to stack 1–2 coins under the spine of the blade to mimic around 15–20°. Keeping this angle steady through every stroke is one of the most important parts of sharpening.
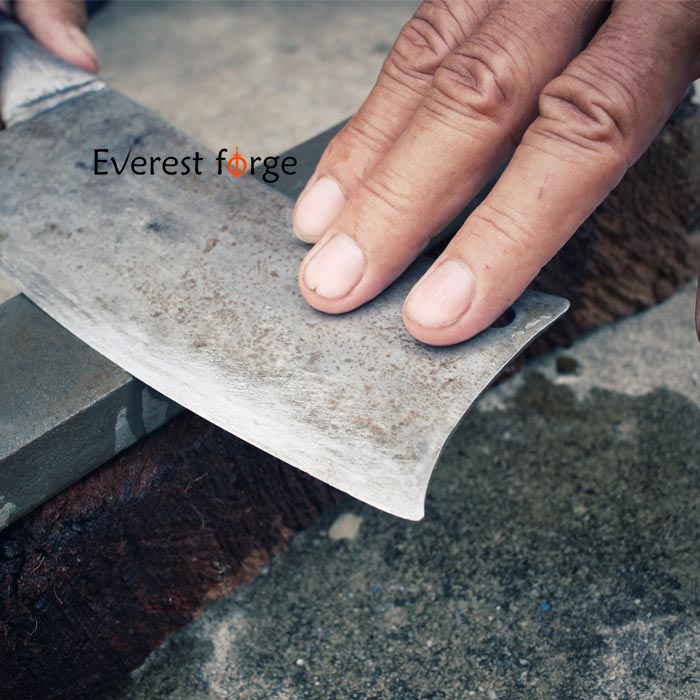
Using a flat whetstone to sharpen a forged cleaver. The knife is drawn across the stone with careful pressure at a consistent angle.
4. Sharpen the First Side
Hold the knife at your chosen angle. Start from the heel of the blade and sweep it across the stone toward the tip, applying light pressure. Repeat this motion 5–10 times, keeping it smooth and consistent.
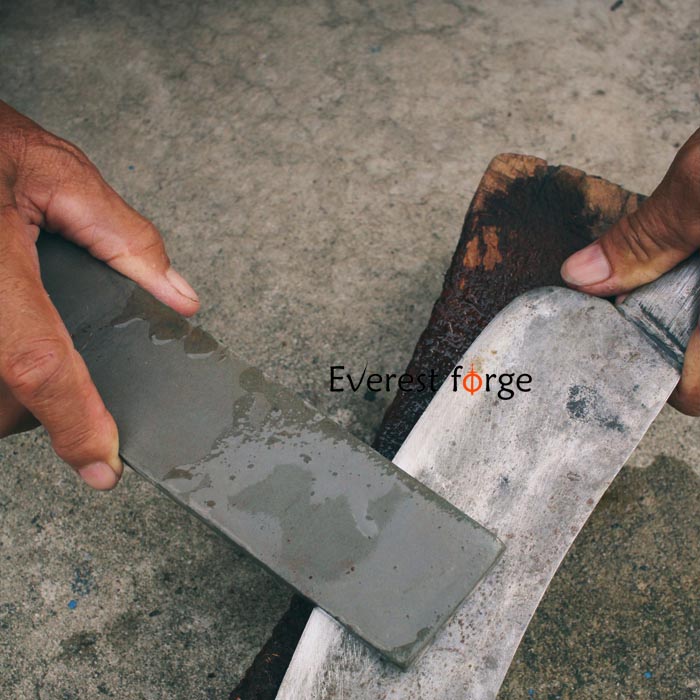
Holding the sharpening stone above the blade. This technique is used to maintain control and polish during the finishing strokes.
5. Flip It
Now flip the knife and do the same number of strokes on the other side. Feel for a tiny burr—a slight edge of metal curling over. That’s your sign that you’re getting a clean edge.
6. Refine the Edge
Turn the stone to its fine side (or use a polishing stone if you have one). Repeat the same motions on both sides. This step cleans up the edge and brings it to a finer finish.
7. Alternate Strokes
Do light, alternating strokes—left, right, left, right—to even out the edge and align the burr. Around 10 strokes per side is enough.
8. Clean Up and Test
Rinse off your blade and stone. Dry everything thoroughly. Now test your edge: slice paper, shave a little arm hair, or run it through a tomato. If it glides, you're done.
Pro Tips for Sharpening
- Keep the angle steady—this matters more than pressure.
- Use the entire length of the stone to avoid uneven wear.
- Don’t rush the process. Patience gives you a cleaner edge.
Why Sharpening Matters
Our hand-forged blades are built to last, but every knife dulls with time. Sharpening restores performance and makes your blade safer and more enjoyable to use. A properly maintained edge cuts cleaner, feels smoother, and reflects your respect for craftsmanship.
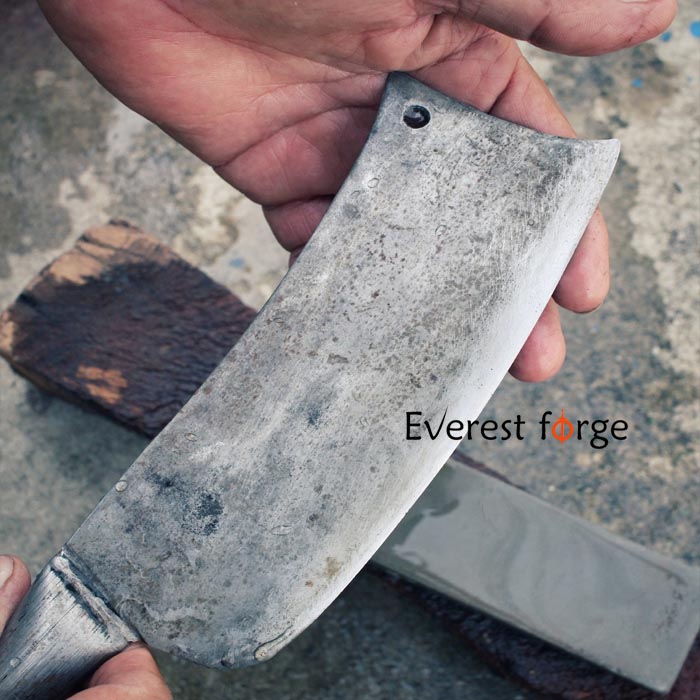
The result of careful sharpening: a finely honed, hand-forged blade ready for real work in the field or kitchen.
Final Thoughts
Sharpening is more than a maintenance task—it’s a ritual. It connects you with your blade and the skill that went into forging it. At Everest Forge, we take pride in crafting tools you can depend on. And we encourage every owner to learn this skill—it’s part of the journey.


